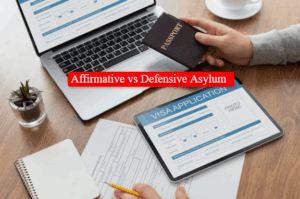
Introduction
Obtaining a U.S. visa while in or passing through another country happens more than you think. Whether you are visiting Singapore, residing in Dubai, or passing through Germany, knowing how to proceed with a U.S. visa application outside the United States will save you stress and time. However, regulations, eligibility, and timelines change based on your location, your visa type, and your country of origin.
This guide will take you through the entire process, beginning with general awareness to appointment scheduling, documents needed, and how to proceed as a third-country national during the interview.
1. Can I Apply for a U.S. Visa from Another Country?
The answer is yes, but only with conditions. A third-country national (TCN) is a person who isn’t a national of the nation they are attempting to obtain a visa for. If you’re asking, do I need to apply for a U.S. visa somewhere other than America, then you’re a third-country national.
Most U.S. embassies do permit TCN applications, but they are not under any obligation to do so. Acceptance depends on the embassy’s availability, local demand, and bilateral agreements between nations.
For instance:
- You can apply for a U.S. visa in Singapore as an Indian national, but appointment availability may vary.
- In demand-heavy locations such as Dubai, you might experience longer wait times if you’re not a resident.
- Some embassies will only accept citizens or legal residents of the country.
Check the U.S. Embassy or Consulate website for local eligibility before booking.
2. Most Common Reasons to Apply Outside Your Home Country

You might want to apply from another country if:
- You’re a foreign resident (expats in the UAE, Singapore, Germany, etc.)
- You’re traveling for business or school and need to renew or apply while abroad
- You don’t want to spend too much time waiting in your home country
- You were rejected in your home country and would like to try another jurisdiction
- You’re a third-country national without a permanent residence
Individuals looking for information, like “can I apply for a U.S. visa from another country,” tend to be in one of these situations.
3. Choose the Right U.S. Embassy or Consulate
Each U.S. embassy acts independently according to Department of State policies. Local wait times and the U.S. visa acceptance rate by nation can differ drastically. For example, the U.S. consulate in Dubai can get extremely busy and will have different wait times and appointments than the U.S. Embassy in Singapore.
Make use of the official website to:
- Find embassies accepting non-resident applications
- View the types of visas dealt with
- Verify local language or document rules
- Gather updates about COVID-era travel restrictions or document Dropbox services
4. Which Visa Are You Applying For?
Although the process is fairly similar for most non-immigrant visas, you need to select the right category:
- Student Visa (F1)
- Work Visas (H1B, L1)
- Fiancé(e) Visa (K1)
- Visa via employment (L1 or intracompany transfer)
- Diversity Visa Lottery (Permanent residency based on random selection)
- Immigrant Visas (Includes employer-sponsored and family-sponsored Green Cards)
Each of these visas has its own eligibility criteria and documentation requirements.
For example, if you’re seeking employment in the U.S., you’ll need an approved I-129 petition for H1B or an I-140 for employment-based green cards.
Students must present an I-20 issued by a certified U.S. institution.
5. How to Start the Application (DS-160 for Non-Immigrant Visas)
Your application starts online at ceac.state.gov. You’ll need to:
- Complete the DS-160 form
- Select the right consulate (where you’ll have the interview)
- Save and print the barcode confirmation
Be careful that all documentation and information provided is accurate and up-to-date. Inaccurate information causes delays or rejections.
6. Pay the Visa Fee (MRV Fee)

Every type of visa has its price:
- F1 visa: Approximately $185
- H1B visa: Application cost typically paid by employer, but check local embassy requirements
- K1 visa: Higher cost, with separate fees for I-129F processing and interview stage
- Diversity Visa Lottery: Free to enter, but winners pay interview and processing fees
You must:
- Create a profile on the local U.S. Visa Information and Appointment Service website
- Pay via bank, online card, or designated payment centers
- Keep your fee receipt as proof before scheduling your appointment
7. Schedule Your Interview
After paying the MRV fee, log in to your profile to:
-
- Book your biometric appointment (VAC)
- Schedule your interview at the U.S. embassy or consulate
Interview wait times vary significantly depending on your location and visa category, such as F1 (student), H1B (work visa), or K1 (fiancé(e)). For example:
- In high-demand cities like Mumbai, it could be several months for a student or work visa appointment
- In locations like Nairobi or Kuala Lumpur, appointments may be quicker for third-country applicants
Tip: Be sure to check estimated wait times for appointments on the embassy’s website.
8. Documents Needed for Interview Abroad
The following is what you need to bring:
- DS-160 confirmation page
- Visa appointment confirmation
- Fee receipt
- Valid passport (must be valid for at least 6 months after stay)
- Passport-sized photos according to U.S. standards
- A residence permit or visa for staying in the local country
- Supporting documents:
- For F1 visas: I-20, SEVIS receipt, admission letter
- For H1B: I-797 approval, employer letter, LCA
- For L1: Transfer letter, I-129S, organizational charts
- For K1: Proof of relationship, Form I-129F approval
- For Green Cards: I-140 or family petition documents
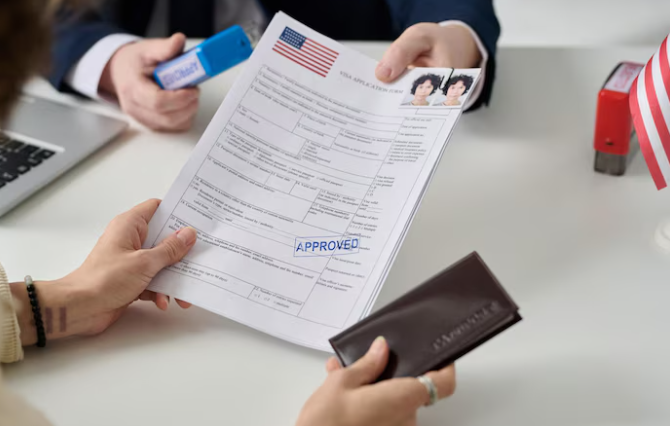
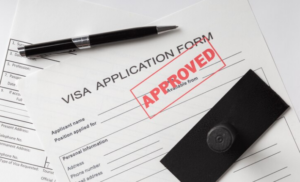
9. What Happens After the Interview?
After completing your U.S. visa interview, the consular officer might provide you with one of the following three reactions:
- Approved: Your passport will be retained for visa stamping.
- Administrative Processing: More time or documents may be required.
- Denied: You’ll receive a denial notice under sections 214(b), 221(g), or others.
If approved, you’ll receive your passport with the visa by mail or embassy pickup in 3–10 working days, depending on the location.
For student or work visa applicants, approval is often faster if the petition or SEVIS documentation is in order.
10. Final Steps After Visa Approval
When you get your visa, follow these steps:
- Verify your visa sticker for accuracy (dates, names, categories)
- Book your trip to the U.S.
- Gather your immigration documents (I-94 form printed at entry)
- For workers and students: Carry SEVIS confirmation or job letters
- Keep in mind that approval of a visa doesn’t ensure entry—CBP officers at U.S. ports of entry have the final decision
Seeking Personalized Assistance with Filing Your American Visa While Overseas?

Get expert, one-to-one coaching with document reviews and interview preparation, particularly if you’re a third-country national applying.
Visit the Passage Law and schedule your appointment today.
DISCLAIMER: This article offers general legal information, not legal advice. Do not rely upon this information without seeking legal counsel. If you need legal advice, you may contact us directly to speak with an attorney. We disclaim all liability with respect to actions taken based on any information presented. Every case is different, and outcomes will vary depending on the unique facts and legal issues of your case.